The New Visual Builder experience gives a great new perspective on adding and editing your own website.
You don’t need to know any code to be able to edit text, or add some images to your website. In this guide, we’ll show you some of the basics of the Visual Editor.
The visual builder is a great tool to edit a page or post.
- Make sure you have logged into WordPress (see user guide here)
- In the top left corner click on ‘visit site’

- Find your desired page or post you wish to edit
- At the top of your screen click on ‘enable visual builder’

- Once you are in the visual builder hover your mouse over which section you wish to edit.
How to change text in the visual builder
- Hover your mouse over the text you’d like to change/edit
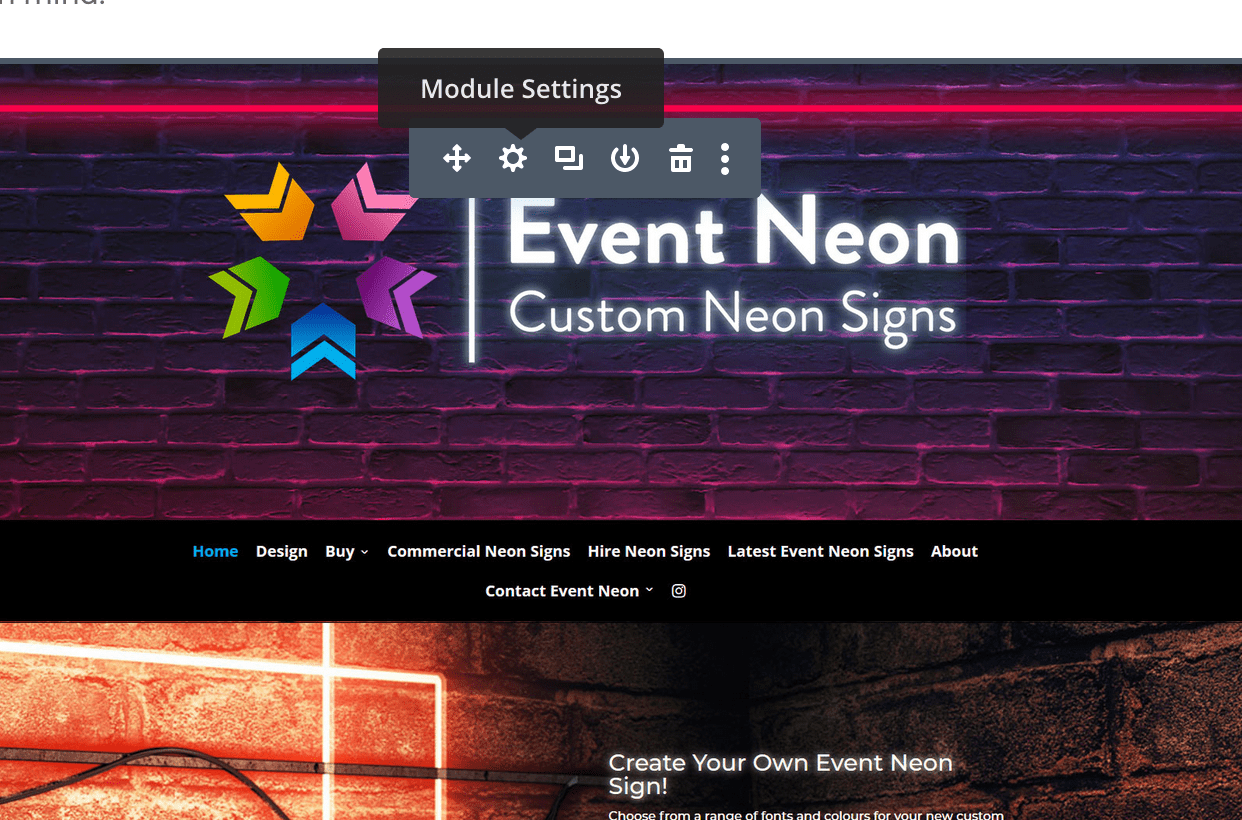
- Click on the cog in the grey

- Edit your text then click on the green tick

- To save your changes click on the three dots in the purple circle on the bottom of the page

- At the bottom right click save and then you can safely exit the visual builder. This is at the top of your screen where you enabled the builder.

How to change an image in the visual builder
- Find the image on the page or in the post you wish to edit
- Enter the visual builder (see above)
- Click on the grey cog to be able to edit the image

- In here you can change the image by clicking on the cog again

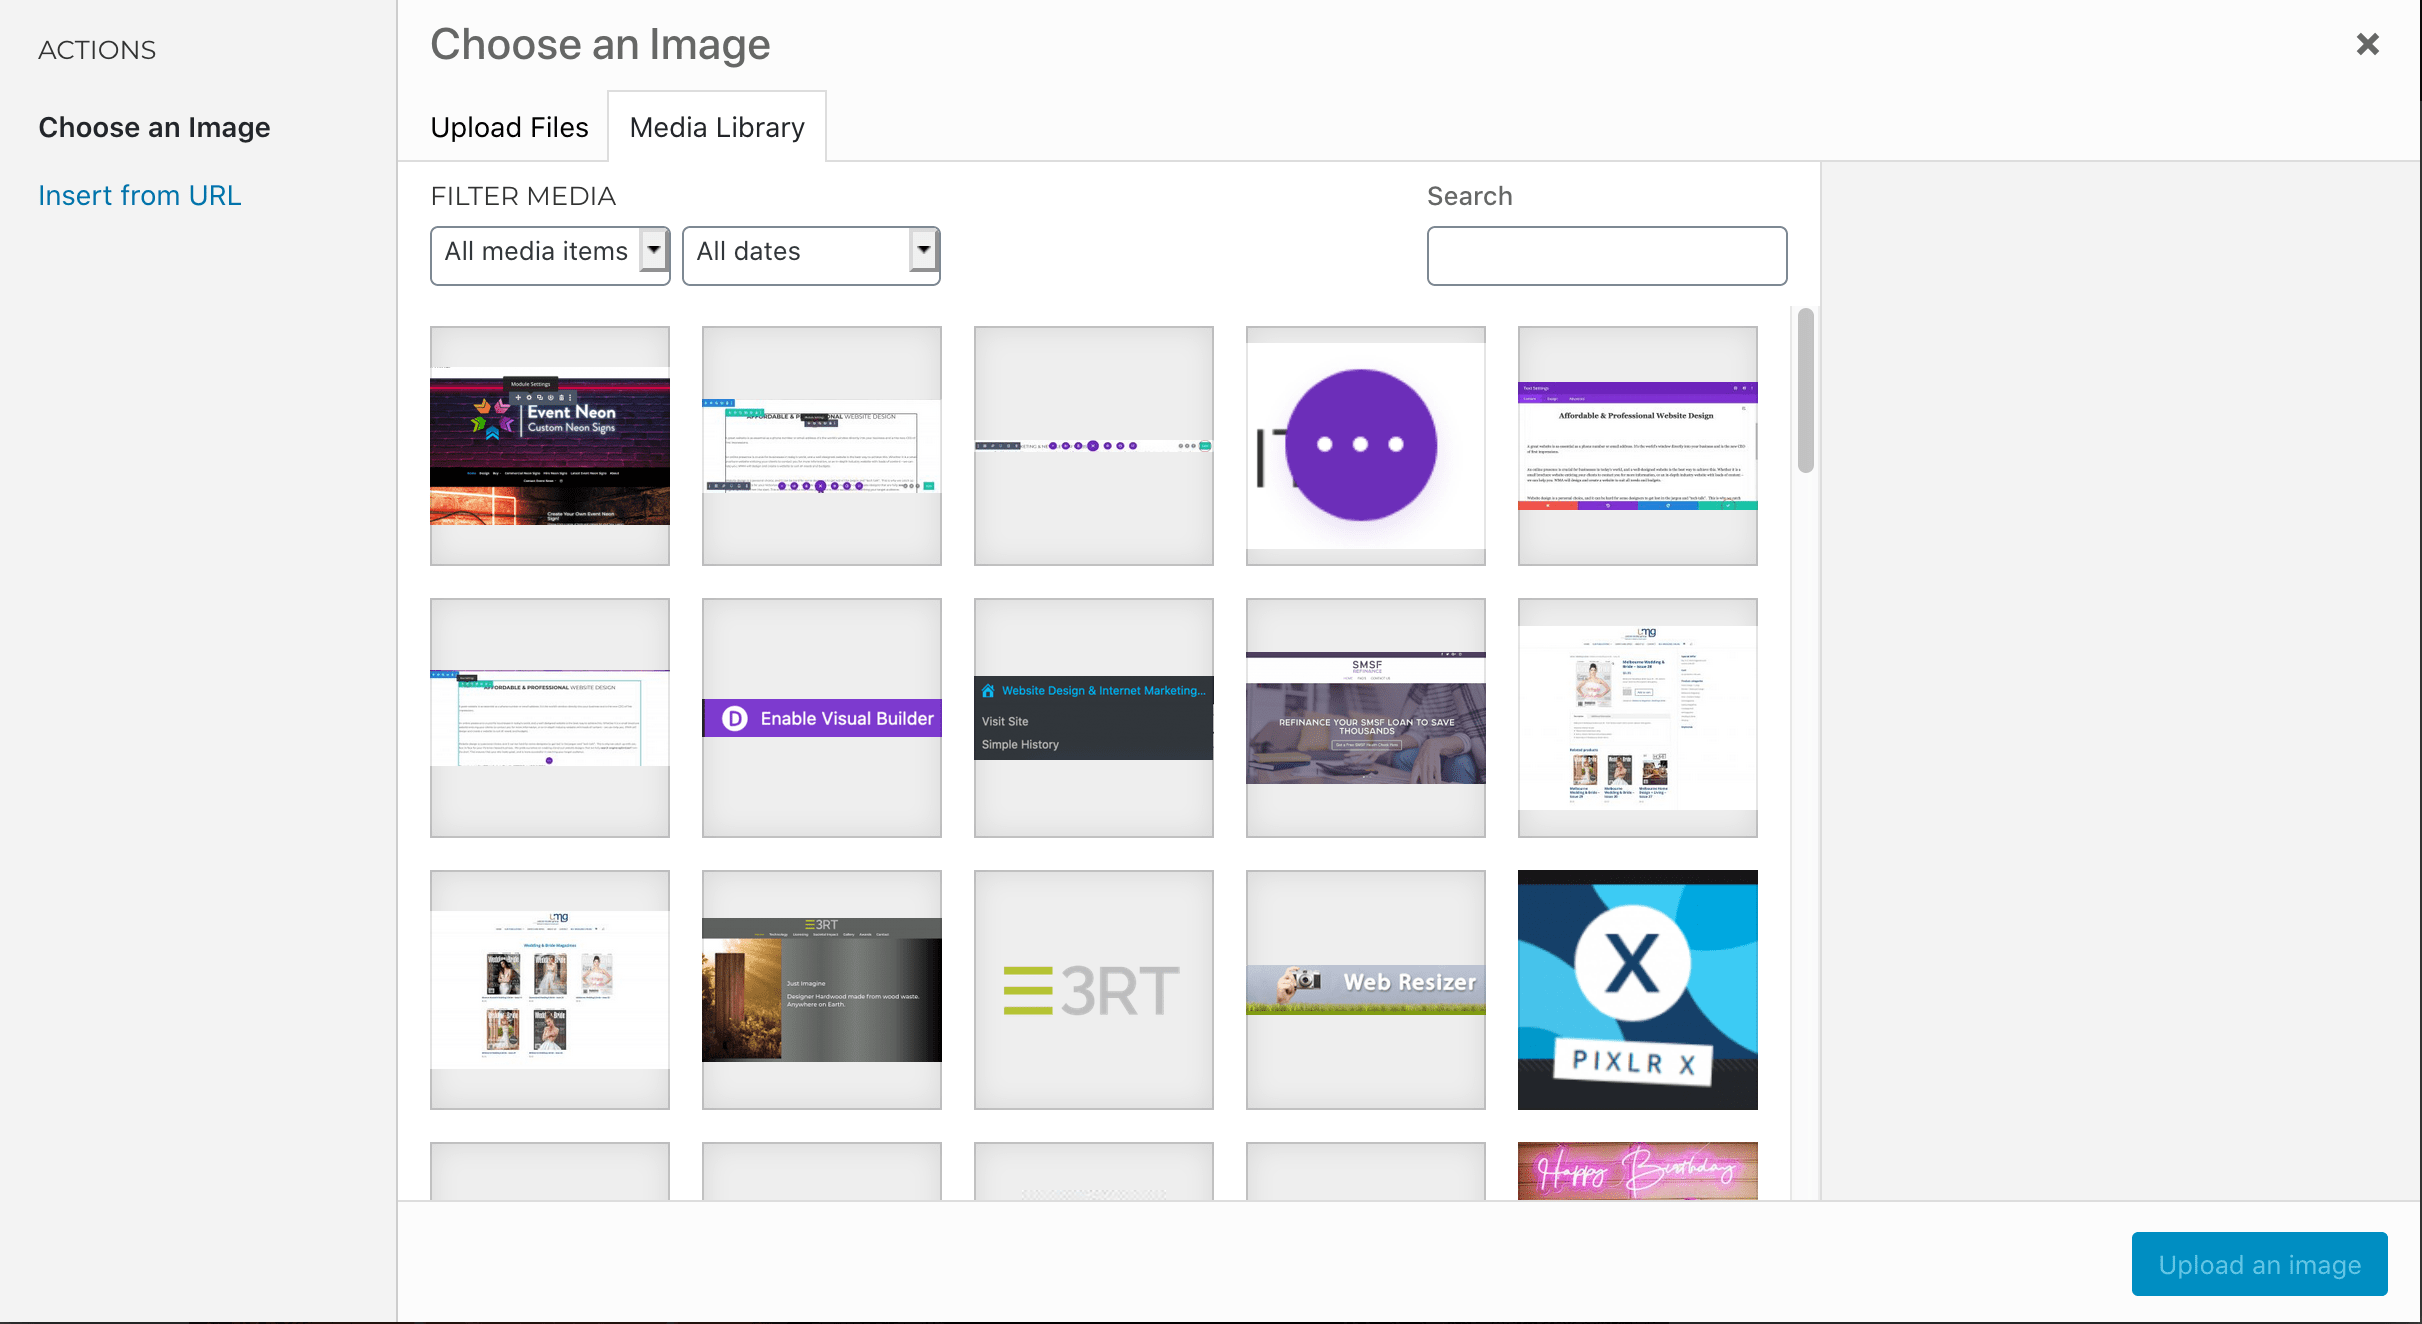
- If you would like a new image you can drag and drop into this space – or choose an image already in your image library
- Click ‘upload an image’ on the bottom right


- To save your changes do the same as saving your text. Click the three dots down the bottom and then select save. From there you can exit your visual builder.
