
Your website is like a book, and each page is like a page in that book. It has its own heading, content and images that make up the page.
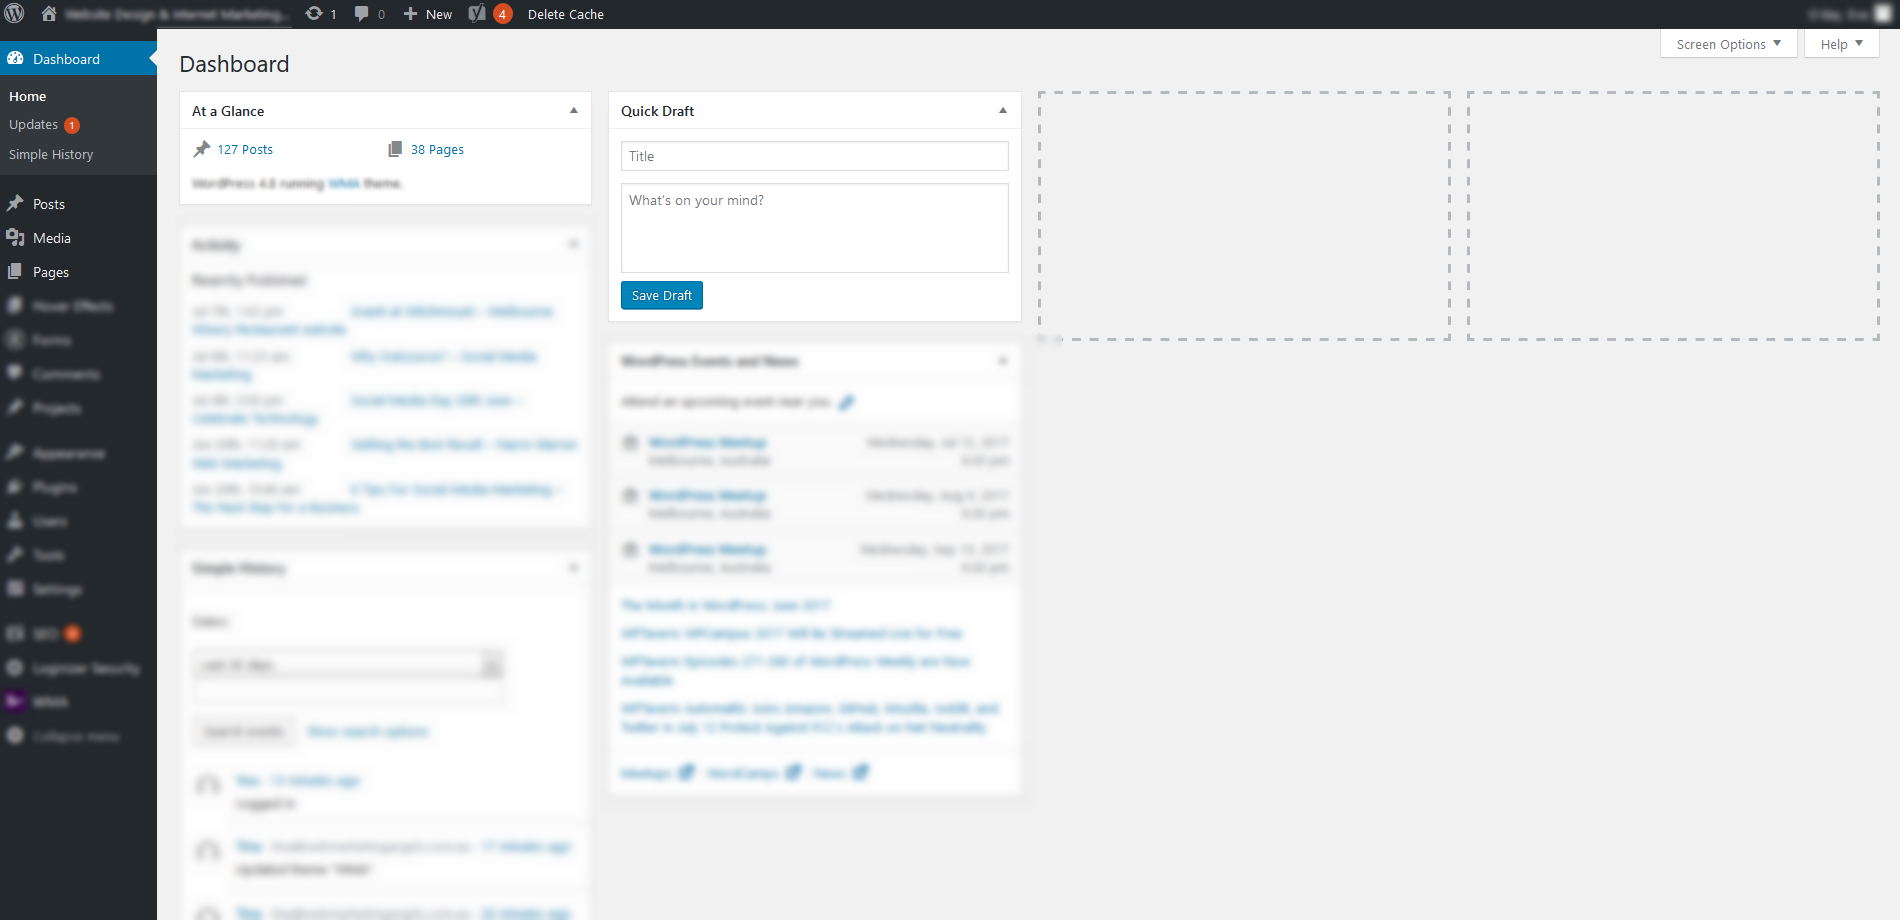
However, don’t get pages and posts mixed up: posts are snippets of content that you add to pages, much like the paragraphs on a page. You can link posts to pre-existing pages and pages to other main pages – which is probably why WordPress can seem quite confusing! However, it becomes easy to differentiate once you get used to creating the main pages of your website. Let’s focus on creating a WordPress page first. Login into your website’s WordPress like so: https://(yourdomainnamehere).com.au/wp-admin/ Enter your username and login in details you have received. You should see the dashboard of your website come up with a toolbar on the left-hand side with everything you need to know.


Here is your list of pages. If your website is new, your list will be a bit shorter.
At the top of this list is a button labelled ‘Add New’. When you want to add a new page, simply click this and it will take you to a blank page editor. Congratulations! You have created a page for your website!


This is what the page looks like as a preview. To preview your work, find the ‘Preview’ button on the right-hand side under ‘Publish’. It will open in a new tab.

It is quite small, as the page has minimal content. But, when you add more, it will become larger.

To edit a page with your added editor, click on ‘Use [blank] Builder’. We have our own WMA builder which we use. It usually sits above the big blank box which we typed in previously.
This will replace the big blank box and the next choice.

If you are copying the page layout from another page select the green option and just edit the content or if you would like to create your own custom design choose the blue button.

You will then have the opportunity to choose your row layout as below

Then click on the grey + to select what type of content you want to add to each column

Click on the icon of the type of content to add

Scroll down and select ‘Text’, ‘Save and Exit’ and it should appear as a grey row in your builder. The text editor will pop up so you can insert your content in the blank section.

Once you’re done, click on the GREEN tick.
The RED X – exits with out saving any changes
The PURPLE arrow is undo
The BLUE arrow is redo
If you need to edit the module just click the cog – the second icon

Once you’re done, click ‘Save and Exit’ and preview your post.
It should look something like this.

Once you get used to the feature, you can add additional photos, videos and page links to a page using the same method as when you add ‘Text’ – that large list of modules will help display many forms of content and media on your page.
With an editor like the WMA builder, you can drag and drop, replace and swap modules to suit your WordPress page – no need to delete and remake all the time!
For more information and other step-by-step guides, have a look at our Client Resources or contact us at Web Marketing Angels.